Hi Everyone!
I am back with a review on the new Ipsy bag for the month of May. This month's theme is "Spring Fling" which pays homage to the month of sunshine, fun colors, and preparing for the summer! The bag the products came in was very fun and reminded me a lot of the Coachella fashion that is popular among the young women.
This month I received 5 products that was customized according to the quiz I took prior to subscribing. (
Disclaimer: I am only reviewing my bag, which may contain different products than other bags that were sent out. Ipsy is revamping their way of customizing every subscribers' bag according to their quiz to have more customized and tailored bag to every subscriber.)
The products I received are: (all are full size)
1. Zoya Nail Polish in "Blu"
2. Mirabella Lipstick in "Daydream"
3. Yaby Cosmetics Concealer in "Honey"
4. Juice Beauty Lip gloss in "Champagne"
5. Pacifica Roll On Perfume in "Island Vanilla"
** also because I am an active contributor to the Ipsy website, I received a sixth product as a thank you!
I received a full size sample of Urban Decay's new Moondust Eyeshadow in Moonspoon. I am going to write a separate review on this product in another post coming soon. I just want to say thank you to Ipsy for a great gift. You all know how I love Urban Decay's products!!! :) xoxox
Zoya Nail Polish in "Blu"
I think all the nail polishes that I've been given from Ipsy has never disappointed me. I loved the Nailtini polishes as well as the nail polishes by Andrea's Choice. I have been hearing rave reviews of the Zoya polishes that I was excited to be receiving my own polish from Ipsy. The color I got was a nice pastel blue which I don't have in my collection yet. What I really liked about the polish is that it is really opaque. Some polishes that are a nice pastel color usually are really translucent that it would take at least 3 coats to get the color on the bottle to your nail. And don't get me started on the long drying time! With Zoya, I was impressed on the opacity of the color is with one swipe of the brush. It just takes 2 coats to get the beautiful pastel color onto my nail. Also, the polish lasted for a week and a half with no chipping. For a girl like me, I dig like a wild man through my book bag and my purses. I also work in a lab and do house chores all day. For a polish to last for more than a week with no chipping is a great nail polish for my lifestyle! I would definitely recommend!!!
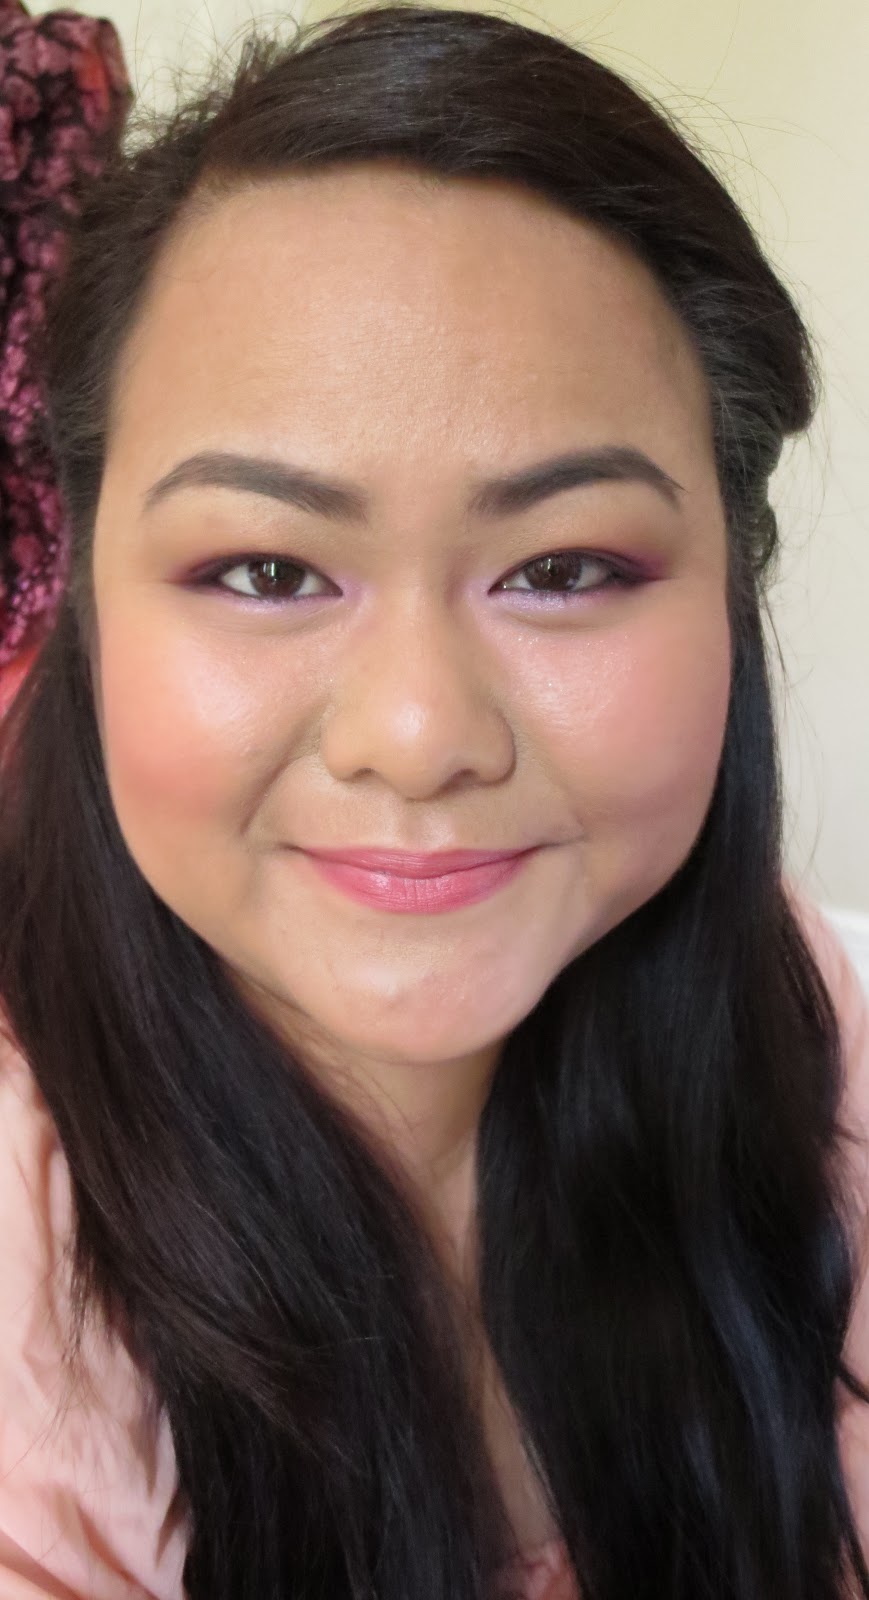
Mirabella Lipstick in "Daydream"
I am a sucker for lip products, but I am very picky on the colors I get. Lately, I've been into the sheer lip products and I was very pleased to get a sheer lipstick from Ipsy. It's like you're reading my mind! The color was a nice everyday light pink that I like to wear in the daytime. It is pretty sheer, but it puts the right amount of pigment on the lips to get you a healthier look through the day. I also noticed that not only is the lipstick sheer, it has some shimmer to give your lips some highlight to create a fuller looking lip.
Yaby Cosmetics Concealer in "Honey"
I was very hesitant about getting a concealer especially when it comes to matching my skin tone. I think Ipsy did a great job in trying to guess the right color for me, but I think the color is too light. However, I didn't let that stop me from using this product. I just used it to conceal my dark circles and it did just fine. The coverage was satisfactory as it did cover my circles. The cream formula was smooth to the touch, but I found it very difficult to blend out. I also noticed that when I was wearing the concealer, it started to settle in the fine lines on my face. Big NO NO! Overall, I did not enjoy this product, but I give props for Ipsy on the color match!
Juice Beauty Lip gloss in "Champagne"
I remember receiving a moisturizing face lotion from Juice Beauty a while back and I hated the smell. It smelled of vanilla, lemon, and green apple which was waaaaaay too "citrussy" for me. I was hoping the lip gloss didn't smell like it because the color was gorgeous. However, they smelt just the same! I didn't like the smell of the lip gloss which sucked because it deterred me from using it. I did suck it up and used it for a day so I can review its performance. I loved the color! It was a perfect nude to go with any spring color. It was very sticky on and it had the same feeling of what you'd experience with a lip plumper, but I'm not sure if that's one characteristic of this lip gloss because it didn't say. The packaging was cute and very chic. The applicator was flexible so you can mix the small glitters inside the bottle to evenly distribute the color. The lip gloss didn't stay on pretty long. I found that it tends to "melt" off your lips giving you the "I just ate a greasy fried chicken and I didn't have a napkin" look. Lol. Overall, I loved the color of the lip gloss, but hated the smell. If you like citrus scented products, this would be your favorite lip gloss.
Pacifica Roll On Perfume in "Island Vanilla"
If you are an Island Princess, this perfume is definitely for you. With the scent of tropical fruits like a pina colada smothered in a syrup of vanilla, this scent is very sweet! I'm not very fond of tropical scents, but I thought this was decent. However, as a personal preference, I wouldn't wear this on a regular basis. If i was going to the beach, a luau, or a spa, I would totally wear this. It's a nice scent to have around on hand. I am not a huge fan of vanilla.
I hope you enjoyed my review for the Ipsy May Bag for "Spring Fling"! I will be back next month to review the upcoming bag for June!
xoxo
Lyn :)


